

Cleaning a laptop keyboard without removing keys is straightforward. You can do it with simple tools.
Maintaining a clean keyboard improves your laptop’s performance and lifespan. Dust and debris can accumulate between keys, leading to malfunction. Cleaning your keyboard regularly helps prevent these issues. With a few steps and household items, you can keep your keyboard spotless.
No need for special tools or removing keys. This method is quick and easy, perfect for those short on time. In this guide, you will learn how to clean your keyboard effectively. Stay tuned for practical tips that will make your keyboard look and feel brand new.
Credit: www.cnet.com
Why Regular Keyboard Cleaning Is Important
Cleaning your laptop keyboard regularly isn’t just about appearance. Here are the top reasons to clean it:
- Prevents dirt build-up that can damage key switches
- Improves typing responsiveness
- Removes germs and bacteria (especially important for shared laptops)
- Extends your device’s lifespan
For most users, the safest method is non-invasive cleaning—that means no key removal, which can risk breaking delicate keycaps or clips.
Necessary Tools You’ll Need
Cleaning your laptop keyboard without removing the keys can be tricky. But with the right tools, the process becomes easy and efficient. Let’s explore the necessary tools to keep your keyboard clean and functional.
Soft Brush
A soft brush is ideal for removing dust. It can reach between the keys. Use gentle strokes to avoid damaging the keys. A small paintbrush or makeup brush works well.
Compressed Air
Compressed air is great for blowing out debris. Hold the can upright. Spray short bursts between the keys. This method dislodges dirt and crumbs effectively.
Microfiber Cloth
A microfiber cloth is perfect for wiping the keyboard surface. It picks up dust and dirt. It is gentle and won’t scratch the keys. Use it dry or slightly damp.
Cleaning Solution
A mild cleaning solution is useful for tougher grime. Mix equal parts of water and isopropyl alcohol. Dampen a cloth with the solution. Wipe the keys gently. Avoid soaking the cloth to prevent liquid damage.
Step-by-Step: How to Clean Laptop Keyboard Without Removing Keys
1. Turn Off and Unplug Your Laptop
Before cleaning, power down your laptop and unplug it from any power source. This prevents accidental key presses or short circuits.
Unplug And Remove Accessories
Next, unplug all accessories from your laptop. This includes the charger, mouse, and any USB devices. Removing these items prevents accidental damage. It also makes the cleaning process easier.
After unplugging, remove any external storage devices. This helps avoid data loss. Now, your laptop is prepared for a safe and effective cleaning process.
2. Flip the Laptop and Shake Gently
Turn your laptop upside down and gently shake it to dislodge loose particles like crumbs and dust. Tap lightly on the bottom of the chassis while it’s upside down.
Tip: Do this over a clean surface so you can see what falls out.
3. Use Compressed Air to Blow Out Debris
Hold a compressed air canister at an angle and blow short bursts of air between the keys. This forces out dust and debris trapped under or around the keycaps.
- Move row by row for best coverage
- Don’t hold the nozzle too close (keep at least 1–2 inches away)
Avoid tilting the can too much to prevent moisture from escaping.
4. Brush Between Keys
Take a soft-bristled brush and gently sweep between the keys to pick up remaining dirt. Use short, controlled motions so bristles get into the crevices.
Make sure the brush is dry and anti-static to prevent damage to sensitive components.
5. Clean Key Surfaces With Isopropyl Alcohol
Dip a microfiber cloth or cotton swab in isopropyl alcohol and gently wipe the tops of the keys. Alcohol evaporates quickly, making it safe for electronics.
- Focus on heavily-used keys like spacebar, enter, shift, etc.
- Don’t pour liquid directly on the keyboard—always use a cloth or swab
This not only removes oils and grime but also disinfects the surface.
6. Use Cleaning Gel for Tricky Areas (Optional)
Keyboard cleaning gel or slime is a non-damaging compound that molds into small spaces. Press it gently over the keyboard and peel it off slowly to lift dirt from between keys.
It’s especially useful if your keyboard design makes it hard to reach certain areas with a brush or air.
7. Dry and Let It Sit Before Powering On
Give the keyboard a few minutes to air-dry—especially if you’ve used alcohol. Only power the laptop back on when you’re sure everything is completely dry.
Cleaning Methods
Several methods were evaluated based on safety, effectiveness, and accessibility, with a focus on not removing keys. The following table summarizes the key methods, their tools, and suitability:
| Method | Tools Needed | Effectiveness | Safety Notes |
|---|---|---|---|
| Compressed Air | Can of compressed air | High for loose debris | Keep can upright; avoid tilting to prevent liquid propellant release. |
| Brushing | Soft toothbrush or keyboard brush | Moderate for solid debris | Use dry or lightly dampened with alcohol; avoid excessive moisture. |
| Wiping with Alcohol | Microfiber cloth, isopropyl alcohol | High for sticky residues and germs | Cloth must be slightly damp; ensure drying before powering on. |
| Cotton Swabs for Details | Cotton swabs, isopropyl alcohol | High for hard-to-reach areas | Dip in alcohol, wring out excess; avoid soaking the keyboard. |
| Disinfectant Wipes | Bleach-free disinfectant wipes | Good for sanitizing | Wring out to avoid excess moisture; allow to dry completely. |
The evaluation included insights from multiple sources, such as HP – How to Clean Keyboard, which emphasized compressed air and alcohol swabs, and Lifehacker – Best Way to Clean a Keyboard, which highlighted toothbrush methods for those without compressed air. Additionally, Asurion – How to Clean Laptop Keyboard suggested microfiber cloths and disinfectant wipes, while Real Simple – How to Clean a Laptop Keyboard cautioned against excessive moisture and harsh chemicals.
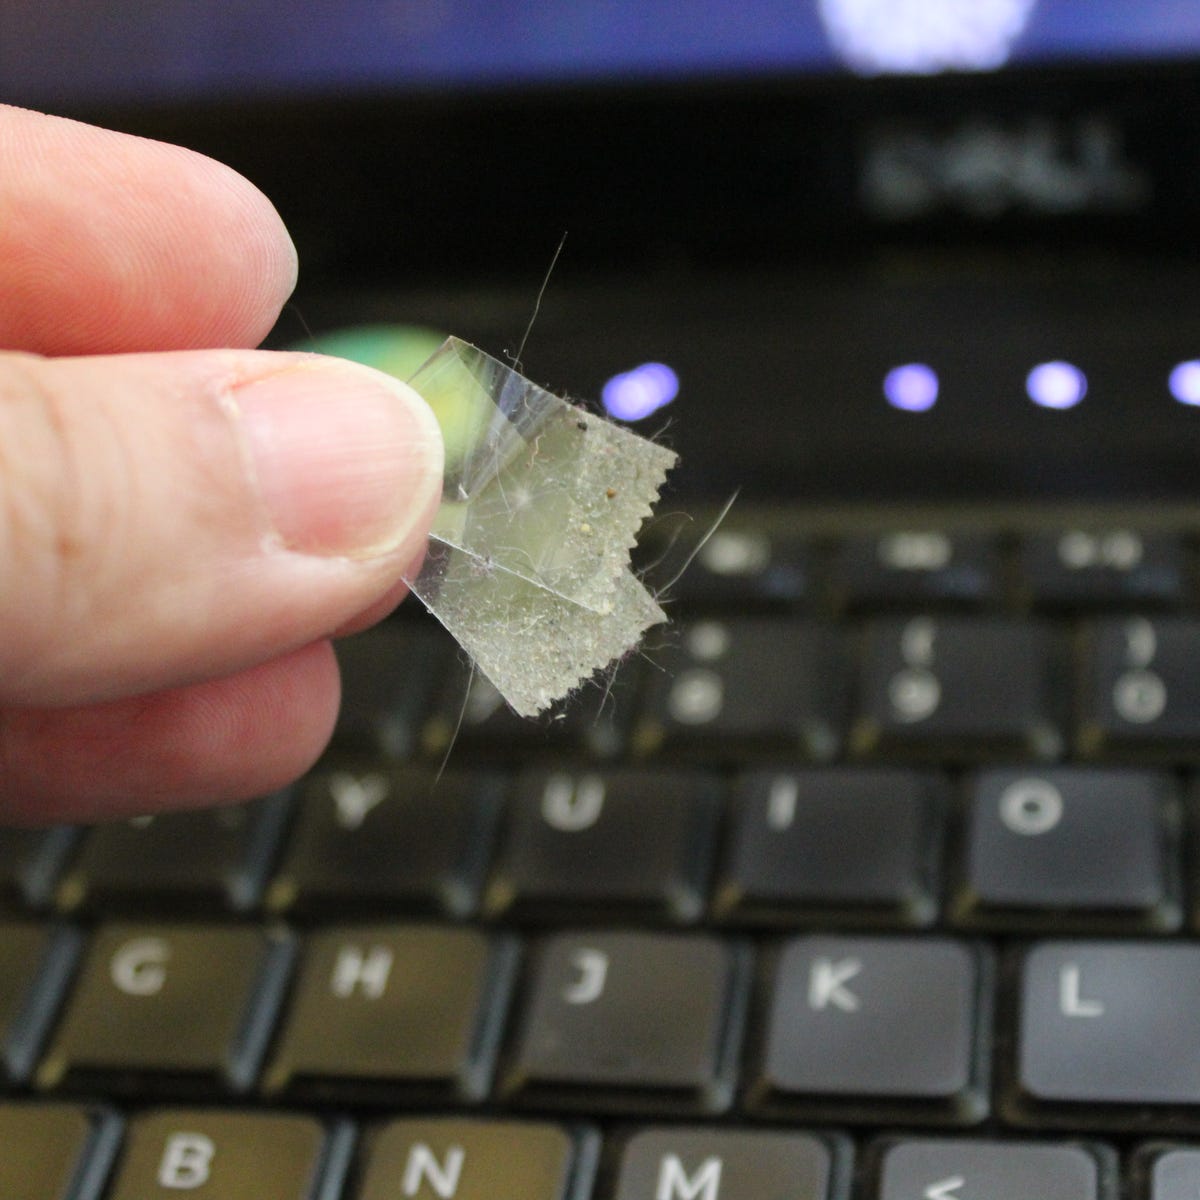
Cleaning Between The Keys
Keeping your laptop keyboard clean can be a tricky task, especially when it comes to cleaning between the keys. You don’t need to remove the keys to get a thorough clean. With a few simple tools and steps, you can keep your keyboard looking and functioning like new. Here’s how you can clean between the keys effectively.
Utilizing Compressed Air
Compressed air is a quick and effective way to clean between the keys. Hold the can of compressed air at an angle and spray between the keys to blow out any dust or crumbs. Make sure to use short bursts to avoid damaging the keyboard.
Tip: Always hold the can upright to prevent any liquid from coming out and damaging your keyboard.
Have you ever noticed how much dust accumulates around your workspace? Imagine the same amount finding its way into your keyboard. Compressed air helps you tackle this hidden mess with ease.
Handling Stubborn Debris
For more stubborn debris, consider using a small brush or a clean, soft-bristled toothbrush. Gently brush between the keys to dislodge any particles. A cotton swab dipped in a small amount of isopropyl alcohol can also be effective for removing grime.
Have you ever tried using a sticky note to pick up crumbs? The adhesive side can be surprisingly useful for grabbing bits of debris between the keys. Just slide the sticky part between the keys and lift.
How often do you eat near your laptop? If you’re like most of us, probably more often than you should. Taking these small steps can help maintain your keyboard’s cleanliness without the hassle of removing keys.
Credit: www.reddit.com
Drying The Keyboard
After cleaning your laptop keyboard, it’s crucial to dry it properly. Moisture can damage the internal components. Ensuring the keyboard is completely dry will help maintain its functionality and extend its lifespan. Below are steps to dry your keyboard effectively.
Wiping Excess Moisture
Start by wiping the keyboard with a dry, lint-free cloth. This will remove any excess moisture left from cleaning. Be gentle to avoid pushing water into the keyboard. Pay attention to the edges and spaces between the keys.
Allowing Time To Air Dry
Once you have wiped the keyboard, let it air dry. Place the laptop in a well-ventilated area. Avoid direct sunlight or heat sources. This could damage the keyboard. Leave it to dry for at least an hour. This ensures all moisture evaporates.
If possible, prop the laptop up to increase airflow. This can speed up the drying process. Ensuring your keyboard is completely dry before use is essential for preventing damage.
Regular Maintenance
Keeping your laptop keyboard clean is essential. It helps maintain performance and hygiene. Regular maintenance is crucial. It prevents dust and debris from accumulating. This ensures your keyboard stays in good condition.
Routine Dusting
Routine dusting helps keep your keyboard free from dirt. Use a soft brush or a can of compressed air. Gently brush or blow out the dust. Do this at least once a week. It prevents dust from settling between the keys. Ensure your laptop is off before you start.
Hold the can of compressed air at an angle. Spray short bursts between the keys. This dislodges trapped dust. Be careful not to tilt the can too much. Liquid from the can may damage your keyboard.
Scheduled Deep Cleaning
Deep cleaning should be done monthly. It keeps your keyboard in top condition. Start by turning off your laptop. Use a vacuum with a brush attachment. Gently vacuum the surface. This removes larger particles and crumbs.
Next, take a microfiber cloth. Dampen it slightly with water or isopropyl alcohol. Wipe the surface of the keys. This removes smudges and germs. Make sure the cloth is not too wet. Excess moisture can damage your laptop.
Lastly, use cotton swabs. Dampen them with a cleaning solution. Clean around the edges of the keys. This removes any remaining dirt. Let your keyboard dry completely. Turn your laptop back on once it’s dry.

Credit: www.wikihow.com
❌ What NOT to Do
- Don’t use household cleaners like bleach or Windex
- Don’t spray liquids directly onto the keyboard
- Don’t use metal tools to clean between keys
- Avoid excessive force when brushing or shaking
Frequently Asked Questions
How Do I Clean The Keys On My Laptop Without Removing Them?
Use a soft brush or compressed air to remove dust. Wipe keys with a slightly damp, lint-free cloth. Avoid excess moisture.
How To Fix Sticky Keys On Laptop Without Taking The Keys Off?
Clean the area around the sticky keys with a soft cloth. Use compressed air to remove debris. Apply a small amount of isopropyl alcohol to a cloth and gently clean the keys.
Can You Pull Keys Off A Laptop Keyboard?
Yes, you can pull keys off a laptop keyboard, but do so carefully to avoid damage.
Can I Use Alcohol Wipes To Clean My Keyboard?
Yes, you can use alcohol wipes to clean your keyboard. Ensure the wipes contain 70% isopropyl alcohol for effectiveness.
Conclusion
Cleaning your laptop keyboard is simpler than you think. Regular maintenance prevents dirt buildup. Use a soft brush to clean between keys. A gentle wipe with a damp cloth helps too. Don’t forget to power off your laptop first. Compressed air can remove stubborn debris.
These tips keep your keyboard clean without removing ke